To run WordPress on your own computer it’s not as simple as downloading WordPress and clicking on it to run. It requires a web server configured to support PHP, SQL (Databases) and some other things needed. In this guide I’ll cover the method or software for setting up a local environment for WordPress that I like.
Work Smarter, Not Harder
Starting off development for WordPress you don’t need to hassle yourself with the how’s and why’s for getting a development server running to test code or even build staging sites on your laptop.
There’s a really neat program called Local By FlyWheel. This is a all-in-one solution to setup a development environment for WordPress on your computer.

Steps To Get WordPress Running On Your Own Computer With Local By FlyWheel
- Double click on the Local By FlyWheel icon to start the program (just like any other program on your computer).
- Let it finish loading.
- Once it’s done loading you should see something like the image below.
- Click on the green plus to create a new WordPress site.
- Enter your site name for reference purposes.
- If you click on the “Advanced Options” dropdown, you will be able to choose a specific URL you want your site to use. You don’t have to click on this as it will automatically create a URL based on the site name you have entered. Click the continue button.
- You can click the ‘preferred’ environment for now and click the continue button.
- Now you should see the “Setup WordPress” step and this is where you can choose your username and password.
- Clicking the “Advanced Options” is not necessary but it will allow you to create a multisite if you want to simulate this. I’ll cover multisites in a later post.
- Click the “Add Site” button and wait for it to finish importing and loading.
- There may be pop-ups to allow Local By FlyWheel to configure some files. Approve these pop-ups for Local By FlyWheel.
That’s it! Your site has been created and available on your computer. (A green dot should show next to your site name when this WordPress site is running).

Working With Local By FlyWheel
When returning to work on your local WordPress site on your machine, you will need to run Local By FlyWheel when you start your computer.
No sites will be running automatically. Click on the grayed out circle and wait for it to turn green, this is how your WordPress site will be emulating on your computer.
Repeat the steps mentioned earlier in this post to create another new WordPress sites on your computer.
If you right click on the site it will give you additional options to delete the site, clone the site or view the sites folder.
Some Neat Things About Local By FlyWheel
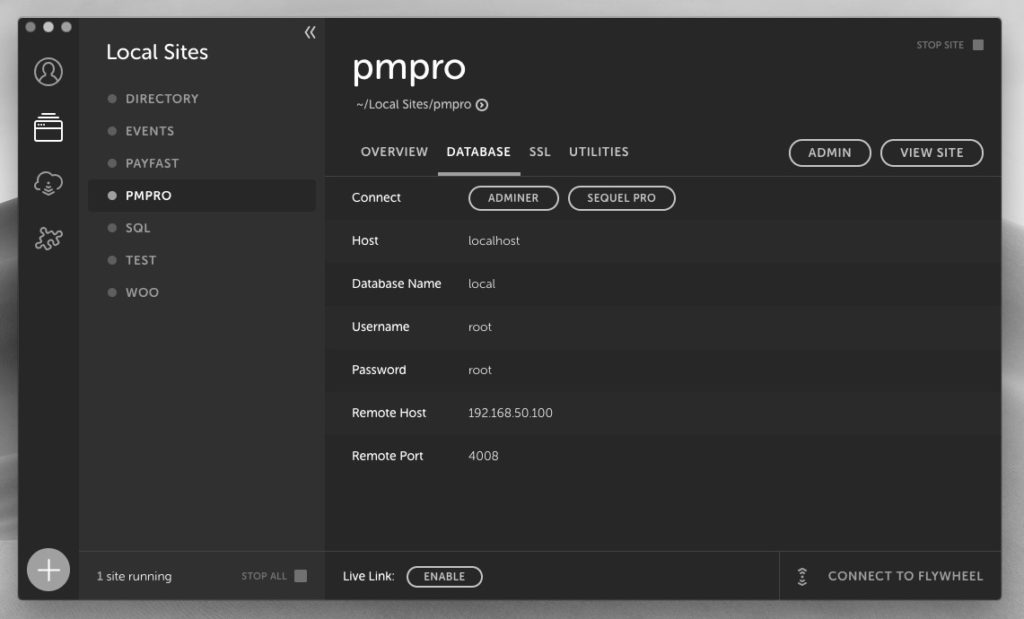
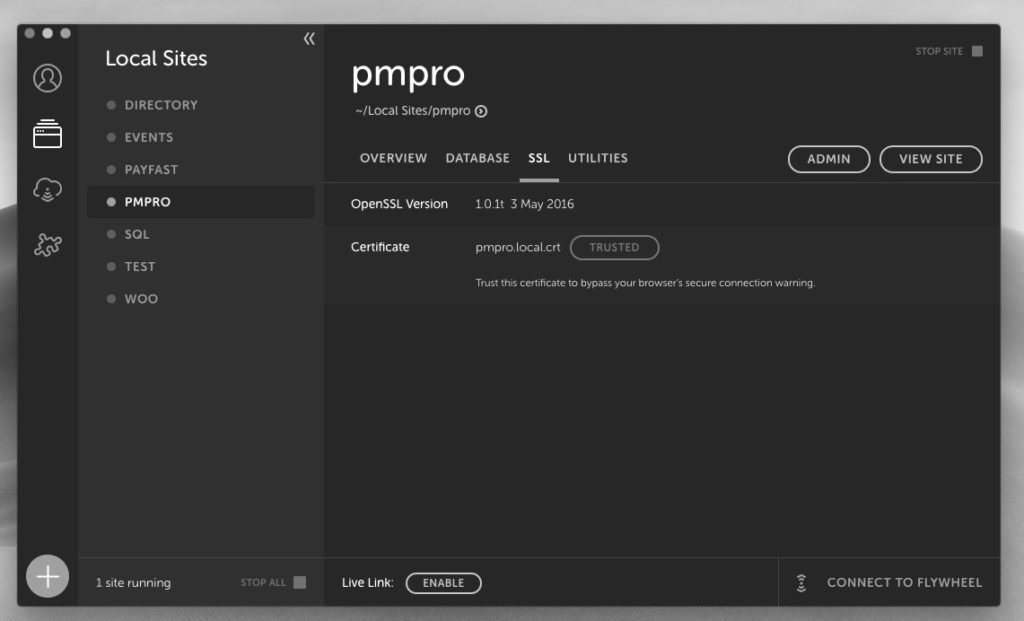
Local By FlyWheel has some neat tools to make your WordPress development and testing WordPress features easier. It comes with built-in SSL certificate, database tools and an email logger.

Enabling SSL will require permission by you before it will be enabled. This writes data to a file on your computer and you then can run your local website over HTTPS.
Under the Utilities tab, this is where you can open MailHog and catch all outgoing emails from your WordPress site.
If you want to share your development site with someone else over the internet, you can click on “Enable” Live Link at the bottom of your Local By FlyWheel settings area and this will create a link that anyone can access over the internet (if they have the direct URL).
Summary
There are many tools out there that will let you run WordPress on your own computer. I really am a fan of Local By FlyWheel because it’s really easy to use and super quick to spin-up a WordPress site.
Feel free to look for alternatives of Local By FlyWheel or how to setup a development environment for WordPress in a manual way if you are interested. I like easy, we live in the future – so why struggle?


